Analog Discovery Pro (ADP2230) Getting Started Guide

Overview
This guide will get you started with your new Analog Discovery Pro (ADP2230), from getting it out of the box to taking your first measurement.
Inventory
- Your new Analog Discovery Pro (ADP2230) with the included USB cable, auxiliary power supply, and BNC oscilloscope probes
- A BNC to minigrabber or BNC to alligator clip cable, available for purchase separately
- A computer, with the WaveForms application (version 3.22.1 or later) installed.
- Installation instructions can be found in Step 2 of this guide.
Register your ADP2230 and access the WaveForms installer for your operating system here: ADP2230 Registration.
Guide
1. Unboxing
The ADP2230 and its accessories come in a reusable project box.

A registration card will be present on top of the foam. Any products registered to your account will have all of their resources curated and gathered into one place for you.

Take out your ADP2230.
- Take note of the 2×16-pin connector and 3 BNC connectors on the front panel, as well as the USB Type-C® connector and barrel jack connector for external power on the back panel.

Remove the accessories from the box. Included with the ADP2230 are:
- A pair of BNC oscilloscope probes
- one USB Type-C® cable
- five 6-pin male headers
- one 2×16-pin flywire assembly
- flywire labels
- info cards

2. Download and Install WaveForms
Digilent's WaveForms application provides a user interface to the ADP2230. Please download the appropriate WaveForms installer for the operating system (Windows, Linux, Mac). You can find WaveForms downloads on the My Products section of the Digilent Cloud. Register your ADP2230 and access your installer here: ADP2230 Registration.

Click on the appropriate option below for OS-specific installation instructions.
If you already have WaveForms installed, please make sure that it is up to date with version 3.22.1 or later.
- Installing WaveForms : Windows
-
Open the Executable File
Open the executable file that you downloaded.

Welcome
Launch the WaveForms installer, by clicking on it in the Downloads folder. Upon launching the WaveForms installer, the welcome page will be seen. Click Next.

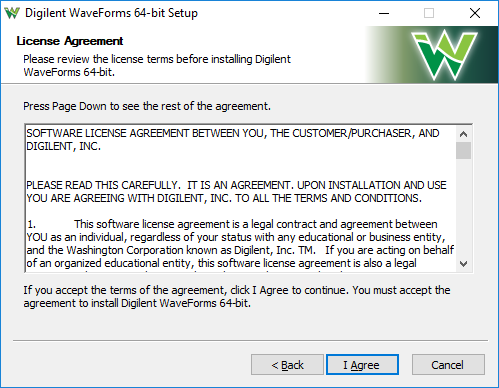
License Agreement
Read the license agreement on this screen, then, if in agreement to it, click I Agree to continue.
Choose Components
In the “Choose Components” screen, a list is presented of each of the things that can be installed. In order to use the ADP2230 with the WaveForms application, the Adept Runtime, WaveForms Runtime, and WaveForms Application are required.
- The Adept Runtime allows WaveForms to communicate with all of Digilent's Analog Discovery devices.
- The WaveForms Runtime contains a library and device support files needed to run custom applications.
- The WaveForms Application is the Digilent virtual instrumentation interface.
- The WaveForms SDK is the software development kit for creating custom applications
Note: Even with all components selected, the WaveForms install does not take much hard drive space (<200MB). Digilent recommends that all components are installed.

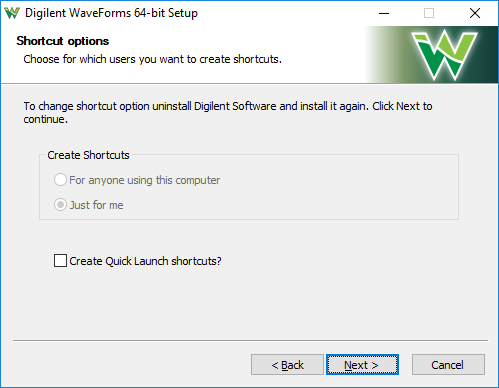
Shortcut Options
Click Next.
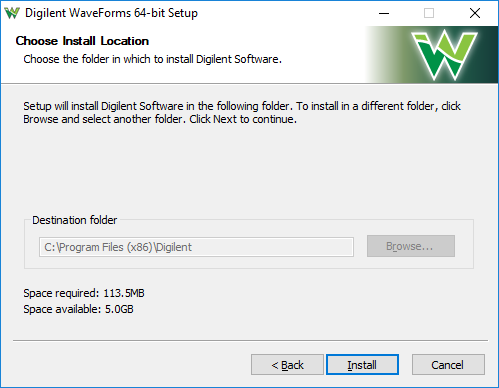
Choose Install Location
- You'll need to choose an installation destination or just leave it at the default.
- Click “Install”.
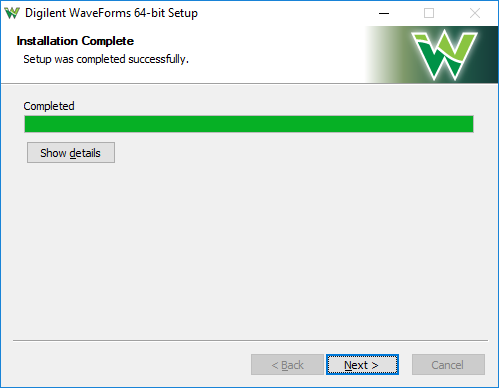
Installing / Installation Complete
- WaveForms will be installed as indicated by the progress bar.
- Click “Next”.
Complete
- Check or uncheck the boxes to open WaveForms and the readme.
- Click “Finish”.

- Installing WaveForms : Mac
-
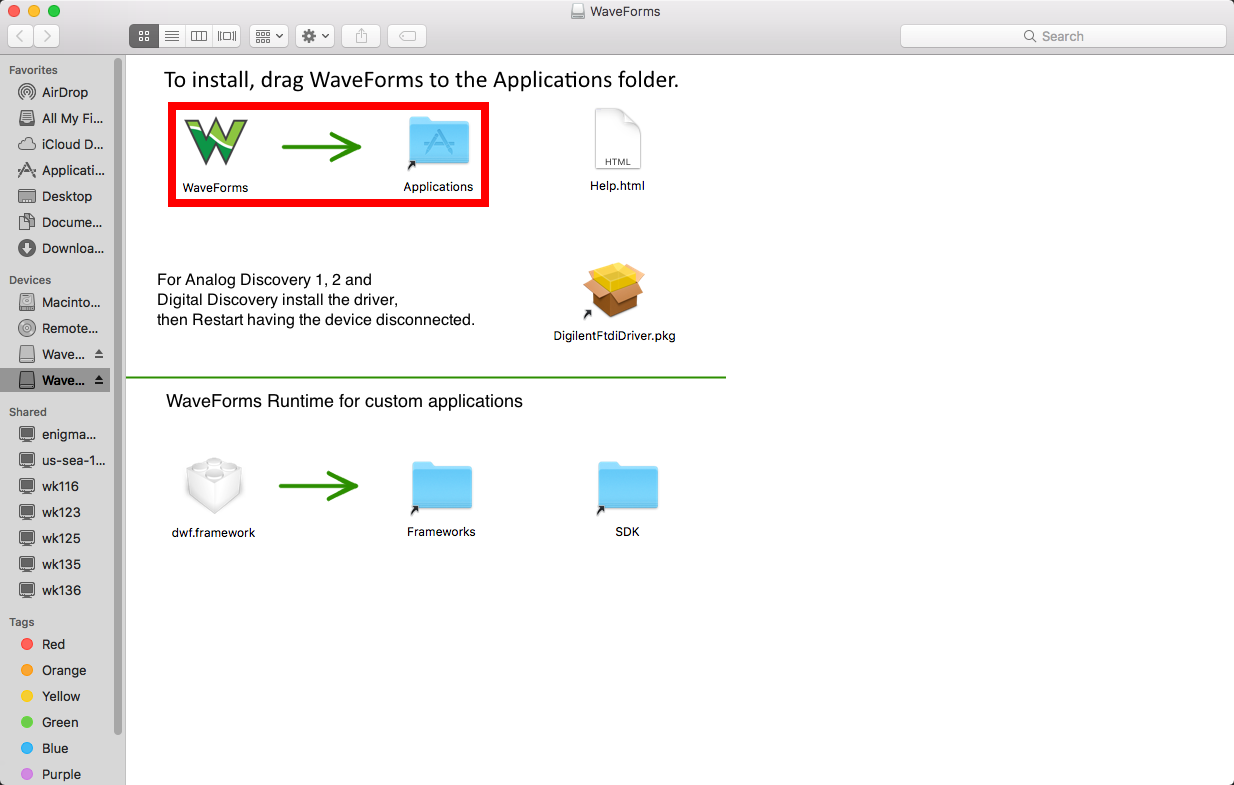
Expand your downloads and open the .dmg file that you have downloaded.

From the desktop, open the WaveForms drive.

Drag the WaveForms icon into the Applications folder.
This will install the following components in Applications:- WaveForms Runtime contains a library and device support files needed to run custom applications.
- WaveForms Application is the Digilent virtual instrumentation interface.
- WaveForms SDK is the software development kit for creating custom applications
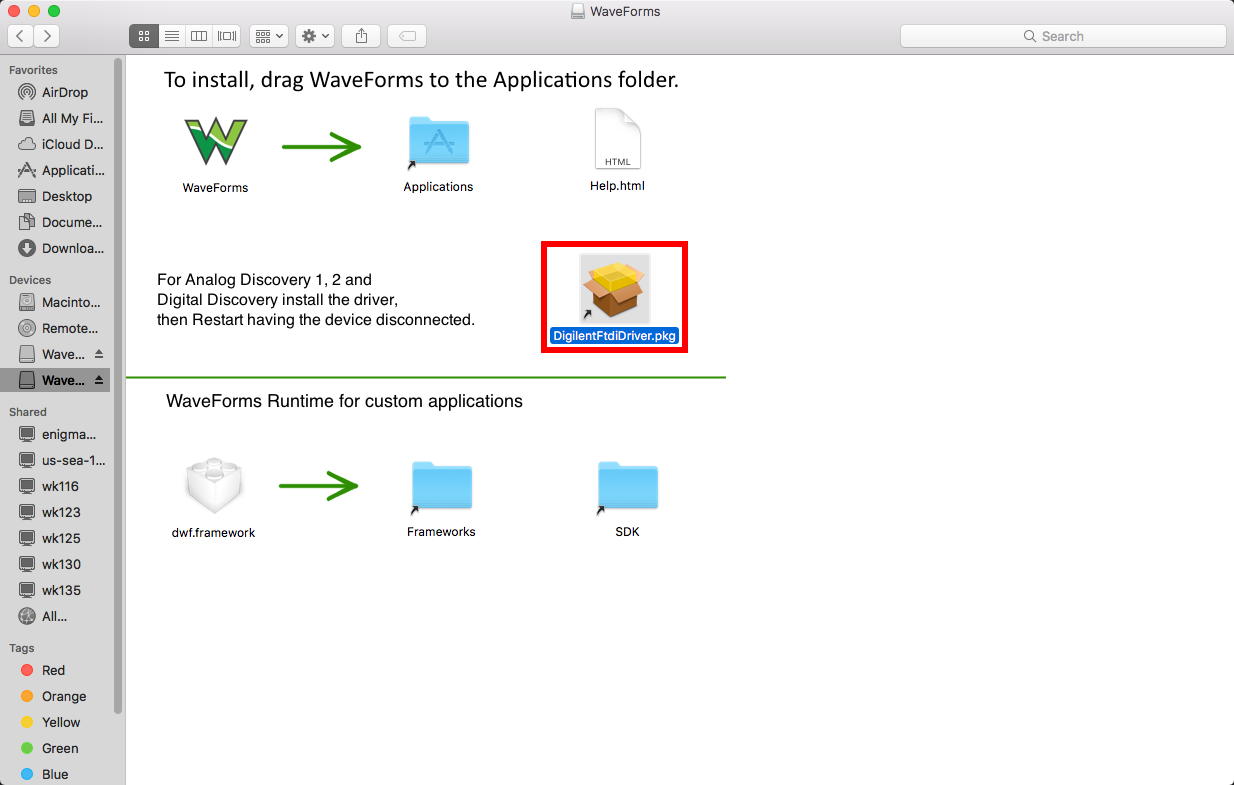
- Install Drivers : Only for OS-X 10.13 or earlier
-
Double click the FTDI driver icon to start the installation process.
On MacOS (10.13) Sierra High and older versions the device driver should be installed to support Analog Discovery 1 & 2 and Digital Discovery devices.
On MacOS (10.14) Mojave, the device driver is not required. According to some reports, on new MacBook machines the device is not detected if the driver is installed, so uninstall the driver if the device does not connect.

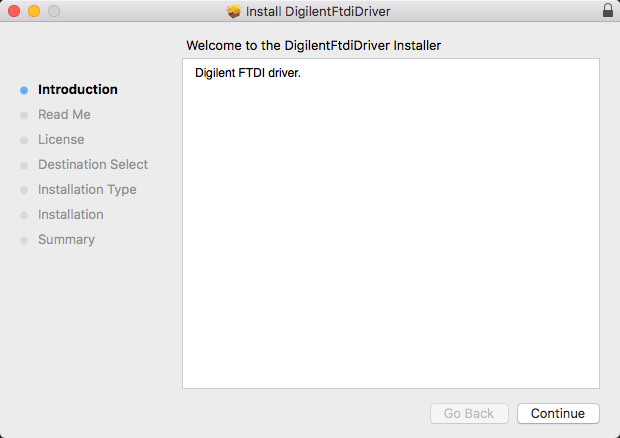
Launch Installer
Double click DigilentFtdiDriver.pkg to open the FTDI Driver Installer.
The OS may block the launch of the driver installer. If this is the case, go into the System Preferences' Security and Privacy page and click Open Anyway.

Introduction
Click Continue.
Read Me
Click Continue.

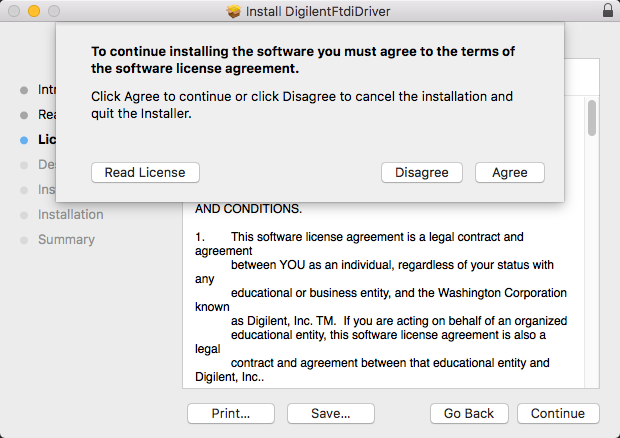
License
Read the license, then if in agreement, click Continue, then click Agree in the popup.
Destination Select
Pick the users to install the drivers for, then click Continue.

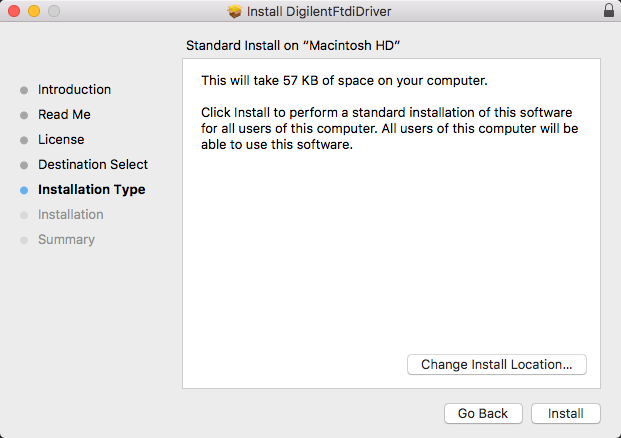
Installation Type
Click Install.
Summary
Once the installation has completed, click Close.

The OS may block the launch of the Waveforms . If this is the case, go into the System Preferences' Security and Privacy page and click Open Anyway.
- Installing WaveForms : Linux
-
First, download the package for the Adept Runtime. This program is required for WaveForms to connect to the ADP2230 and must be installed prior to installing WaveForms.
For systems using .deb packages, (Ubuntu, Fedora, etc), use the built-in package manager to install the Adept Runtime and then WaveForms - typically, a package manager can be opened by double-clicking on the file in question.
Download Adept Runtime
- Make sure the version of the Adept install file is the same as WaveForms. I used the 64 bit RPM for WaveForms so I will use the 64 bit RPM for Adept.

- Install Files using built-in Package Manager
-
Open the Adept File
Open the file you downloaded for Adept in the previous step.

Click Install
Click “Install” on the window that pops up.

Open the WaveForms File
Open the file you downloaded to install WaveForms.

Click Install
Click Install in the window that pops up.
This will install the following components:- WaveForms Runtime contains a library and device support files needed to run custom applications.
- WaveForms Application is the Digilent virtual instrumentation interface.
- WaveForms SDK is the software development kit for creating custom applications

- Install Files using command line
-
Alternatively, use the following set of commands in the terminal to install the Adept Runtime and WaveForms from the downloaded packages:
sudo dpkg -i <path to Adept Runtime .deb file>
sudo dpkg -i <path to WaveForms .deb file>
sudo apt-get install -f
For systems using .rpm packages, (Red Hat Linux, etc), use the following set of commands in the terminal to install the Adept Runtime and WaveForms from the downloaded packages:
sudo rpm -i <path to Adept Runtime .rpm file>
sudo rpm -i <path to WaveForms .rpm file>
If WaveForms has already been installed on the system, replace the “-i” flag passed to the rpm command with “-U” to upgrade the existing installation. For technical support with installing WaveForms on various Linux distributions, please visit the Test and Measurement section of the Digilent Forum.
3. Take a Measurement
This section walks through using the ADP2230 for the first time. An analog output pin is connected to an analog input pin, and a waveform is generated and captured via this simple loopback circuit.
- Take a Measurement - Steps
-
1. Plug in your ADP2230
Connect the ADP2230 to your computer with the included USB C cable.
2. Set up a Loopback Circuit
Take a BNC oscilloscope probe and connect it to the Analog Discovery Pro’s Oscilloscope Channel 1. Connect a BNC to minigrabber clip cable to Wavegen Out Channel 1. Connect the two ground clips together. Connect the BNC probe tip to the positive lead of the BNC minigrabber. Ensure that the BNC probe's attenuation switch is set to 1x.

3. Launch WaveForms
Launch WaveForms. Upon launch, WaveForms will automatically detect and connect to the ADP2230.
If the ADP2230 is not connected to the host computer when WaveForms launches, the Device Manager will be launched. Make sure that the device is plugged in and turned on, at which point it will appear in the Device Manager's device list (1). Click on the device in the list to select it, then click the Select button (2) to close the Device Manager.
Notes:
The Device Manager can be opened by clicking on the device identifier button at the bottom of the window (3), or by selecting “Device Manager” from the “Settings” menu at the top of the screen.
The ADP2230 will show the USB connection speed and the available current in the Connection column. Additional information about this and the different configuration options can be found in the ADP2230 Reference Manual.
4. Open the "Wavegen" Instrument
Click on its button in the instrument panel on the left side of the screen.
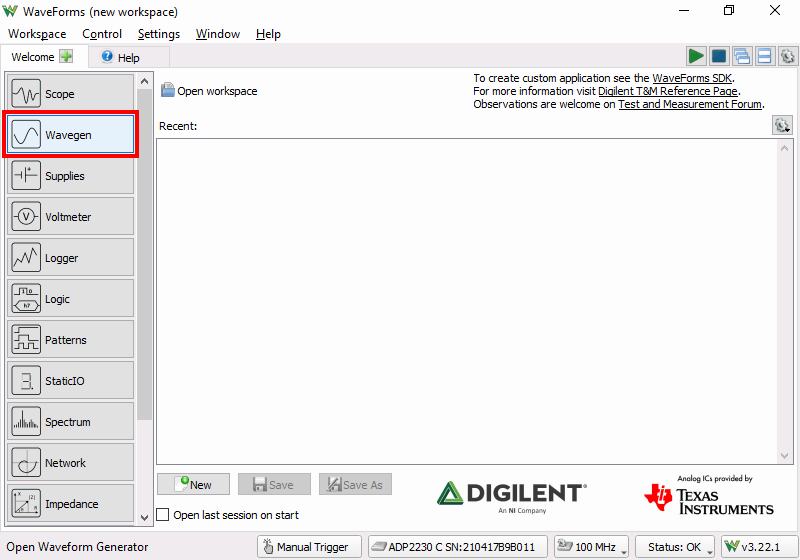
Leave all settings as defaults, and click the green arrow at the top of the window to play the wave.

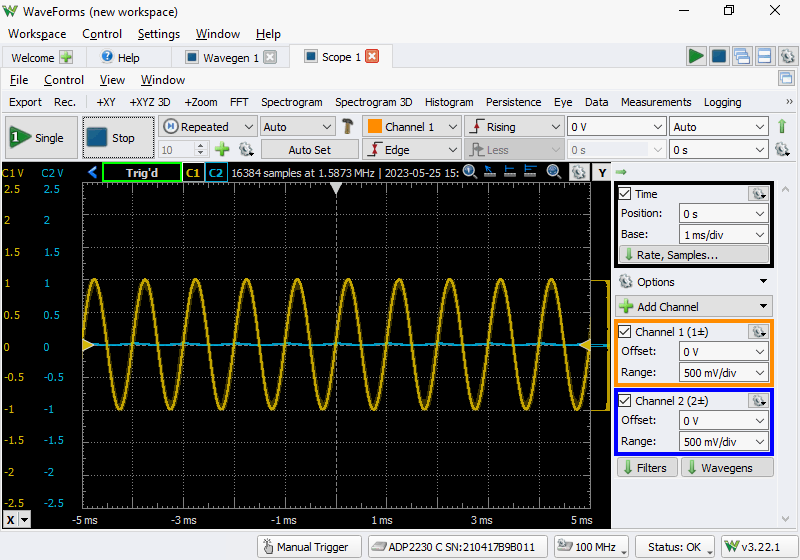
5. Open "Scope" Instrument
Using the “+” button on the “Welcome” tab, open the “Scope” instrument.

Leave all settings as defaults and click the green play arrow to begin capturing data.

Check it out, you've now got acquired data plotted on the chart!


Next Steps
To find reference materials and guides on how to use the ADP2230 and WaveForms, including calibration and BNC probe compensation procedures, please visit the ADP2230 Resource Center.
For detailed steps about how to install and use WaveForms on Raspberry Pi, follow this guide: Getting Started with Raspberry Pi and a Test and Measurement Device.
For technical support, please visit the Test and Measurement section of Digilent Forum.